06 Sep Behind the Scenes of “Cyan Cube”
Creating Furniture Using Laser Cutting
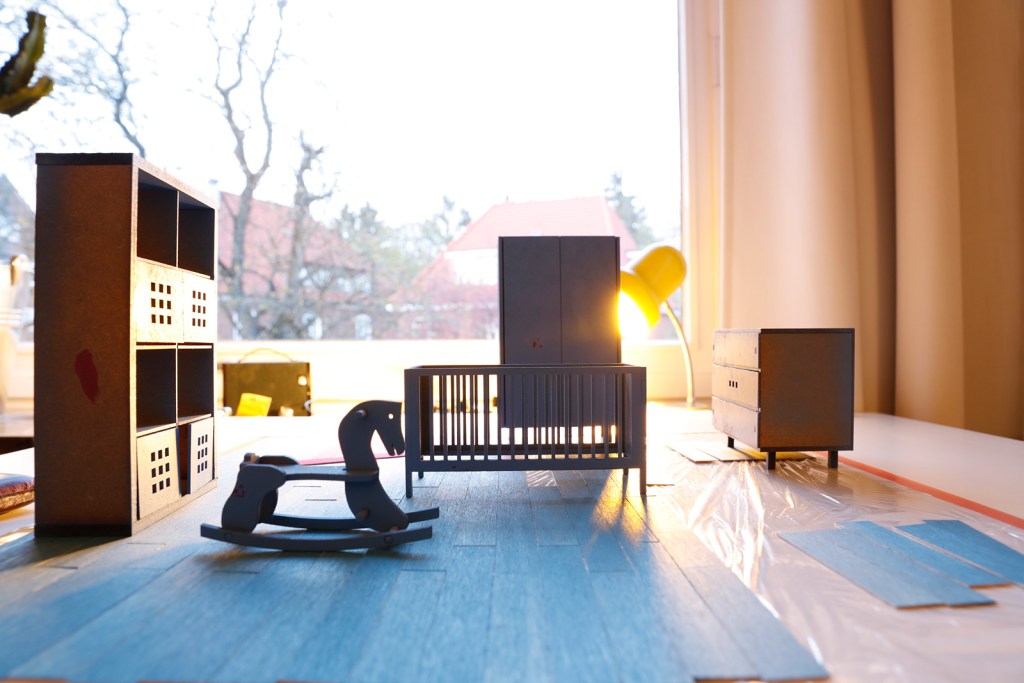
“Cyan Cube” was the second set to make use of laser cutting in order to ensure a maximum of precision. First, the furniture was designed in Adobe Illustrator, then this data was sent to the laser cutter which cut and engraved the individual elements using MDF boards. After gluing all the parts together, the furniture was painted with acrylics. Finally, finishing touches, like cracks in the paint, were added.
The floor tiles were cut by hand, also painted with acrylics, and then attached onto a layer of transparent film. Now, the basic layout of the scenery as well as the framing and composition of the motive could be tested and finalized.


Lighting and Shooting Miniature and Model
In “Cyan Cube”, the main light source is the ceiling light in the middle of the room. In addition to this, there is another (invisible) light source coming from the front left side, as well as the light from the corridor.
All these light sources were finally duplicated in the studio for shooting the model. When matching perspective of the miniature and the studio set, it was essential to create a seamless transition between the (wet) miniature and life-size transparent foil. Furthermore, shadows and reflections from the model were shot separately in order to maximize realism when finally compositing the scenery in Adobe Photoshop.


